Contents
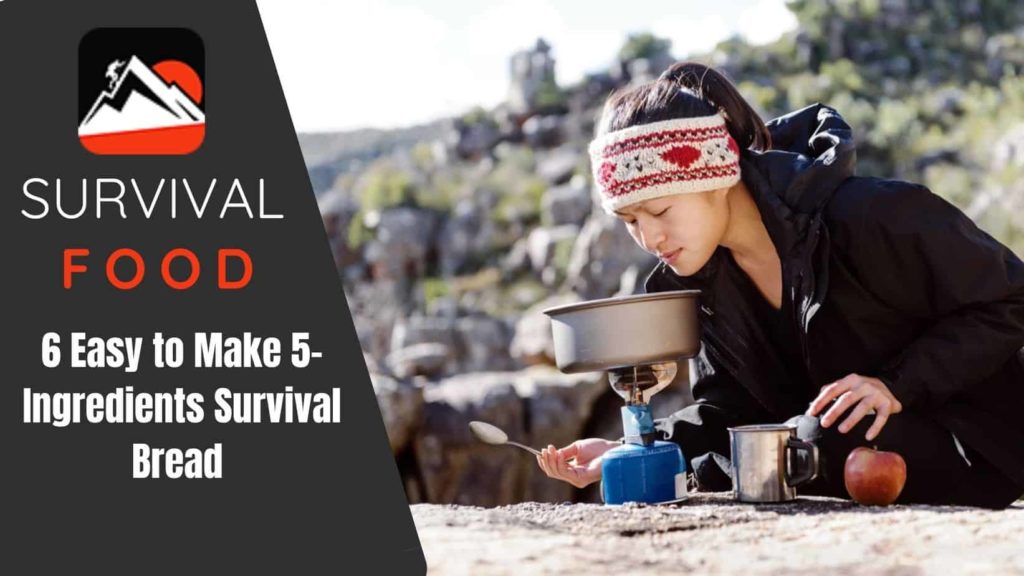
Bread needs no introduction at all. It has been around since ancient times and has served as a food source throughout history. However, it has an even more special place in the hearts of survivalists like you and I.
When calamity strikes, the first thing that one needs is food and water. Preppers know this all too well and they swear by survival bread for times like these. It is imperative that you include these in your survival plan for unpredictable circumstances.
Also known as hardtack or ship biscuits, this food has stood the test of time. Historically, it has been used by sailors, soldiers, and people looking to survive.
What Is Survival Bread?

Alright, let me make it simple for you.
Survival bread can be prepared with just a few ingredients in SHTF situations, can be preserved for long periods, and can fulfill basic nutrition needs. Hence the name, survival bread.
There are different kinds of survival bread, such as hardtack, bannocks, chapati, damper, and pita.
But the question is, if something bad happens, how do we make it?
Keep on reading to learn different recipes and suggestions for great survival bread that everyone can make.
You might also find interesting our article about how to make MREs.
How to Combine Survival Bread with Other Food for a Nutrition-Packed Meal
Bread is a staple food that is filled with carbs, the primary macronutrient that provides energy. Preppers know the importance of carbs when it comes to limited food sources. Thus, the survival bread is enough to provide you with essential nutrition for a longer period.
When SHTF, there’s no telling when things will go back to normal. Eating only survival bread for a long time can create a nutrient deficiency. Survival bread can, however, be combined with other foods to provide you greater nutritional benefits. You can also tinker with recipes to make them more interesting, like cinnamon, honey, or banana bread.
Hardtacks can be eaten with milk, yogurt, and porridge. This is a great way to take in important carbs, proteins, and some other necessary nutrients such as calcium.
Softer survival bread types, like chapati, pot bread, or pita, are great options that can be eaten with meats, curries, soups, and even fruits. Similarly, canned foods like beans, sardines, olives, spinach, and garbanzo beans also make for a good combination.
These foods provide nutrients like proteins, fats, minerals, fiber, and vitamins that will keep you healthy, even when it seems like the world is coming to an end.
Tips for Preserving Survival Bread for the Longest Time

Even though survival bread is tough and can last for long periods of time, moisture and sunlight can reduce their shelf life and turn them inedible. It is therefore best to preserve them to make them last longer.
If you use these methods, bread will taste pretty much the same after even 10 years.
Mylar Bags
Mylar bags are the best way to preserve your survival bread by far. This remarkable invention has revolutionized food storage. They are tough and resistant to the outside environment as compared to other preservation methods out there.
They protect against sunlight and moisture and, with oxygen absorbers in them, will increase your food’s shelf life even further. You can seal them with a home iron.
Sadly, they can’t protect your food from different types of rodents, so it’s best to plan your storage the right way and keep them hidden from pesky creatures.
Vacuum Sealed Bags
Another great way to preserve your survival bread is to put it into plastic bags and vacuum seal them. The only downside is that transparent bags do not protect against sunlight, so it’s best to keep them in dark areas.
We also recommend reading our article about making hardtack the old way.
Survival Bread Tips to Keep in Mind Before Making the Recipe
Making survival bread is relatively easy and hassle-free. This is why all of us preppers love it so much. However, there are still some things you should know in order to yield the best results.
To make your survival bread more nutritious and delicious, use natural yeast.
- Once you learn how to make it, you won’t go back to using anything other than that in your recipe.
- There’s no doubt that white flour is tasty, but it’s not nutritious. It also has a shorter shelf life. It’s best to use some kind of whole grain variant in your recipe.
- To soften the final product and make it lighter, add a little bit of potato.
- When making stick bread, never use a stick from a tree you can’t identify! Some trees are highly poisonous and have caused deaths.
No Yeast? Make Your Own Yeast and Other Leavening Options to Consider
You won’t always have bread yeast to hand to prepare your survival bread. There are two options if that happens: the first is to make your own yeast, the second is to use alternatives to yeast.
Make your own yeast
- Take a glass container and a coffee filter, or some sort of covering that will allow in air.
- Pour in one cup of warm water and 150 grams of flour. Stir well and cover. Leave for 24 hours.
- Pour half of the mixture out; add another 150 grams of flour and a cup of water. Cover again.
- Repeat every day.
If it starts smelling gross after a while, throw it out and start again. If it smells like alcohol, you have yeast at your disposal.
Yeast Alternatives
If you can’t make yeast, there are other options, too. You can simply prepare bread that doesn’t require leavening agents. Examples include chapati bread, pot bread, and hardtack. Some variations can also be prepared with other leavening agents like baking soda.
No Oven? Here are a Few Ideas to Bake Your Survival Bread

When you run out of some of the other great things that the age of technology has to offer, you have to get creative. You might not have access to a traditional gas or electric oven in a difficult situation, so this is how you get around it.
Tandoor Oven
This is kind of like a conventional pizza oven and usually works on gas, but chances are you won’t find any in survival situations. However, it’s a low-maintenance and easy alternative to a traditional oven.
Cast Iron Skillet Pan
You can make a lot of survival bread simply using cast iron skillet pans. All you need is a source of heat, like coals or firewood.
Solar Oven
If you’re a survivalist, it’s essential to keep a solar oven with you. They are made of reflective material and the best thing about them is that they’re easy to carry and store. All they need is the sun as a source of heat.
7 Survival Bread Recipes to Try Out
Hardtack AKA pilot bread/sea bread
The most popular type of survival bread, hardtack, is also called ship biscuit since sailors would eat them on sea voyages. It was also rationed out to soldiers in the civil war. Semantics aside, they’re actually biscuits that can provide basic nutrition to everyone. This easy recipe is a no-brainer for amateurs and pros alike.
Ingredients
- 150 ml water
- 3 cups of flour
- 2 teaspoon salt
Instructions
- Start by slowly adding some water to 2 cups of flour and 2 tablespoons of salt. Make a consistent dough. If it becomes too watery, simply add more flour.
- Roll out your bread dough on a table using a rolling pin. Roll until it’s about ¼ inch thick. Cut it into equal shapes, sizes, and shares.
- The next step is to dock the biscuits. This means poking holes in the dough so it dries properly and doesn’t rise. Generally, it’s best to cut 16 holes in a 3×3 inch piece.
- Preheat the oven to 250F.
- Put the pieces on a baking sheet. Ensure that they are spaced evenly. Cook for two hours, flip them over, and cook for two more hours.
- Move the biscuits from the baking sheet to a cooling rack and cool them until they reach room temperature.
- Repeat the baking process for two more hours on each side at 250F, if needed.
Bannock
Bannock is an old recipe for bread found in history books written as early as the year 1000. However, being ancient has not decreased its popularity. This recipe is still used in family settings and camping trips, as it’s a great recipe to be used in a challenging situation.
Ingredients
- 260 grams flour
- 1 teaspoon baking powder
- ⅓ teaspoon salt
- 2 tablespoon butter
Instructions
- Add baking powder, flour, and salt according to the measurements and stir well.
- Pour some water and melted butter into the mixture and stir evenly. When mixed, make the dough into a ball. Knead it on a lightly floured surface and pat it into a flat circle about 1 inch thick.
- Use a standard frying pan for bread making.
- Grease the pan and put it on medium heat. Put the dough in the pan and cook for about 15 minutes on each side.
- You can also use a greased baking sheet for cooking. Cook for about 30 minutes at 350F.
Pot Bread
This is one of the simplest survival bread recipes you can benefit from. It’s also called easy cornbread. You’ll be able to find pretty much every necessary ingredient, even in SHTF situations.
Ingredients
- 1 regular can of beer
- 400 grams of sweet corn or cornmeal
- 500 grams of self-raising flour
Instructions
- Pour beer and sweet corn together in a mixing bowl.
- Stir in the self-raising flour, keeping one tablespoon in reserve.
- Lay parchment in your Dutch oven so that it comes up the side. This will make it easier to remove the bread. Pour in your mix and cover the lid.
- Preheat the oven to 350F and put the Dutch oven in.
- If you’re using a hole in the ground, ensure that the coals are glowing red. Put some glowing coals in the hole at about 12 centimeters deep. Place the Dutch oven in the hole and cover it with some more glowing coals.
- Keep adding coals from the wood fire to ensure the heat is constantly supplied throughout the bread-making process.
- Test the bread with a skewer. If it comes out clean, it means the bread is cooked. It’ll take about 40 minutes to properly cook the bread, depending on the heat source.
- Remove the Dutch oven and allow the bread to cool down. It can be pretty crumbly, so don’t try to cut it into pieces just yet.
Bread on a stick
This survival bread recipe is well-suited for both SHTF situations and casual settings like a camping trip. The best way to enjoy it is to share it with friends and family; it’s a no-fuss recipe with simple ingredients and techniques everyone can enjoy.
Ingredients (for 15 sticks)
- 300 grams plain flour
- 2 teaspoons baking powder
- ¾ cup lukewarm water
- ¼ cup coconut oil
- ½ teaspoon of salt
Instructions
- Put all the dry ingredients in a bowl. Make a well in the center and add oil and water.
- Stir until the ingredients are mixed well.
- Knead the dough for a few minutes until it’s pliable and smooth.
- Allow it to rest for a short while – ensure the fire is right and you have the sticks ready.
- Split the dough into fifteen balls of equal size, then roll each ball into a sausage shape. Wind each piece around the sticks.
- Hold the sticks above the flame and keep turning until done.
Chapati
Chapati is a type of south-Asian bread that is eaten for breakfast, dinner, and lunch. It’s an ideal candidate for our list because of how easy it is to make. This recipe is designed to serve 5 people.
Ingredients (for 5 servings)
- ½ cup whole grain flour
- ½ cup all-purpose flour
- ½ teaspoon salt
- 1 tablespoon olive oil
- ⅓ cup water or as needed
Instructions
- Mix together the all-purpose and the whole wheat flour and salt in a large bowl.
- Pour olive oil in with the water as needed and stir until the dough becomes elastic. Make sure it’s mixed well. Knead it on a lightly floured surface until it’s smooth.
- Divide the dough into 10 equal shares and roll each into a ball.
- Lightly grease a skillet and heat over medium heat until hot.
- Roll the dough balls into thin, flat circles like tortillas on a lightly floured surface using a rolling pin.
- Put the chapati on the pan when it starts smoking. Cook until the underside has brown spots. Flip and cook the other side too.
Damper
Ingredients
- 500g of self-raising flour
- ½ teaspoon salt
- 1 ½ cups fresh milk – you can also use powdered milk with water if you don’t have access to fresh milk
- 1 tablespoon of butter
Instructions
- Reserve one tablespoon of flour and empty the rest into a container.
- Add salt and stir.
- Using your fingers, rub the butter into the flour until no lumps are visible.
- Add milk to the mix.
- Dump the dough onto a board or sheet of parchment.
- Form the dough into a lump big enough to fit right in the Dutch oven.
- Sprinkle half a tablespoon of flour on top of the loaf.
- Score the loaf by cutting three diagonal slits across the top. Scoring the loaf will control uneven rising and prevent it from bursting out from the sides.
- Cover the oven and bake for 30 minutes.
- Test with a skewer to see if it’s done.
Pita Bread
A necessary part of middle-eastern culture and cuisine, this well-known option is a reliable addition to your survival food arsenal.
Ingredients
- 2 teaspoons active dry yeast
- ½ teaspoon sugar (or brown sugar)
- 35 grams whole-wheat flour
- 310 grams all-purpose flour
- 1 teaspoon kosher salt
- 2 tablespoons olive oil
Instructions
- Pour lukewarm water into a large bowl and add sugar and yeast. Stir until it completely dissolves.
- Add 35 grams whole wheat flour and 35 grams all-purpose flour and whisk together.
- Put the uncovered bowl in a warm place for about 15 minutes. By this time, the mixture will start to bubble.
- Add olive oil, salt, and almost all of the remaining all-purpose flour.
- Keep stirring with a wooden spoon until it becomes a shaggy mass.
- Sprinkle the remaining flour and knead for a minute. Make sure to knead until all the dry ingredients are mixed in.
- Dump the dough on the surface and knead for about two minutes, until smooth. Cover again and let it rest for 10 more minutes. Repeat kneading for 2 minutes. The dough should be slightly moist and soft at the end.
- Put the dough in a clean bowl again and cover tightly with plastic and then a towel. Put it in a warm place and wait until it doubles in size.
- Preheat the oven to about 475F. Divide the dough into 8 pieces. Make each piece into a ball. Put these balls on the work surface and cover them with a damp towel. Leave for 10 minutes.
- Take one ball and press it into a flat disc using the rolling pin. Roll the ball into about an eight-inch circle almost ⅛ inch thick. Dust with flour as needed.
- Lift the circle when done and place it on the baking surface (sheet, pan, or tile). The dough will puff up in about 2 minutes. Flip over and cook for one more minute.
Conclusion
Bread has been used in breakfast, lunch, and dinner since ancient times. Many meals feel incomplete without it because of the essential nutrients it contains.
By learning these recipes and using my suggestions, you can make sure you’ll never run out of food in dire times. Make sure to try out every recipe at least once in order to get the hang of it. The pioneers of survivalist living are all about these recipes.
These recipes require no modern preservation methods like refrigeration and can last a long time, if preserved correctly. No matter the situation, it’s best to have them stocked in your emergency supplies.
In the end, the best way to survive is to plan well, learn well, and prepare well. Don’t forget to share your food, because those who share last longer.

