Contents
It is no secret that being able to cook for yourself offers financial, health, and survival advantages. That being said, if you are in a major crisis, limited ingredients and heating resources may make it difficult to provide nutritious and safe meals. Even though you may have thousands of recipes and variations to choose from, learning these ten may give you a survival advantage. By using these simple, basic recipes, you can easily adapt and customize as needed to meet the situation at hand.
Hardtack
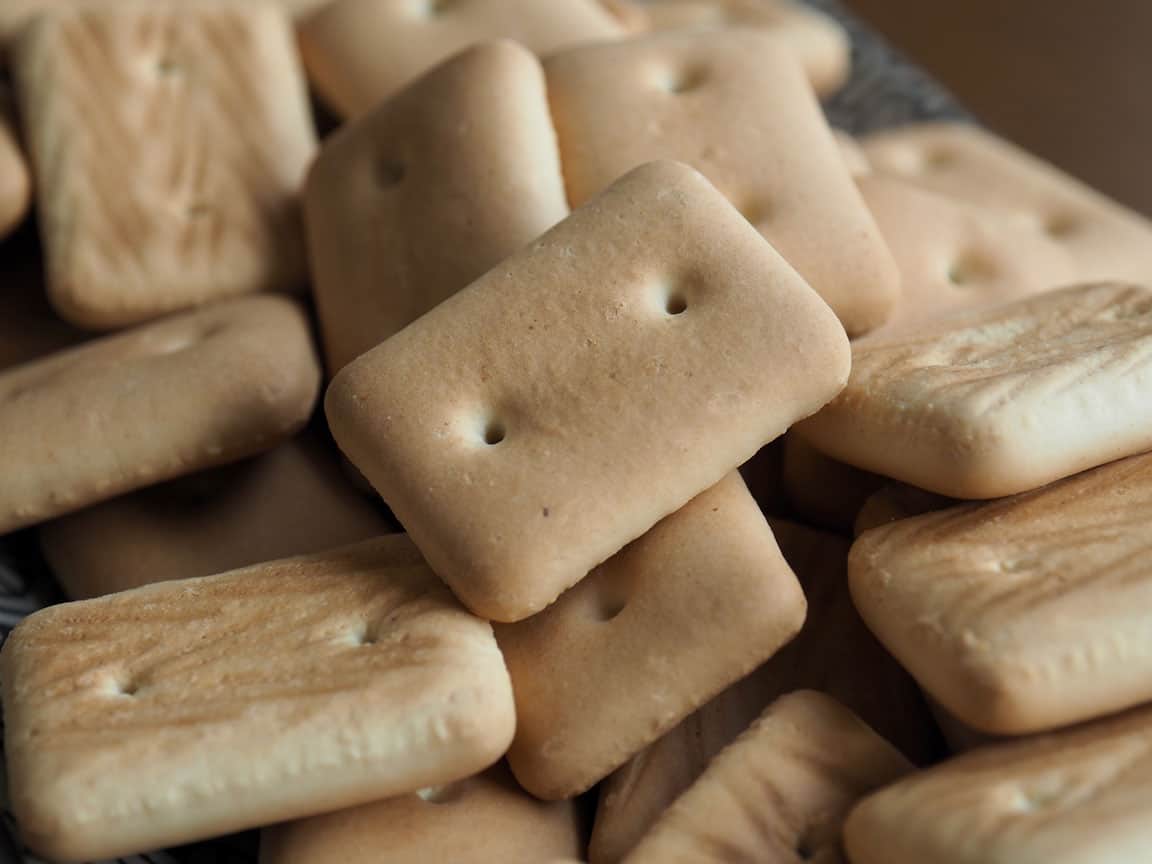
If you must travel and have little time for cooking, hardtack is a nutritious alternative to yeast dough. Once fully cured, you will not need to refrigerate the hardtack. Just keep it in a waterproof, airtight container and consume within a few weeks. Under proper conditions, hardtack can last for years.
Ingredients:
- 4 ½ cups flour
- 2 cups water
- 3 – 4 teaspoons salt
Oven temperature: 375 degrees
To prepare hardtack, simply mix the flour and salt into the water. Next, spread the dough out into a ½ inch thick layer and cut into squares or rectangles. Bake at 375 degrees, and then let set in open air until it is completely hard. Store away once it is done hardening. To use the hardtack, simply let it sit in water, soup, or milk for about 15 minutes to soften it up.
I do not recommend adding flavoring to hardtack because fats and proteins can break down faster and cause the hardtack to rot. It is better to add flavorings at the time you are ready to eat it.
Pemmican
Pemmican is a mixture of powdered and smoked meat, animal fat, and berries. It can last for weeks on end and will provide both fat and protein. There are several different recipes that you can use. If you decide to add spices to the pemmican, make sure they are safe for preserving meat. Unfortunately, some herbs have oils in them that go rancid very quickly. As with hardtack, it is better to add spices later on while you are preparing meals that will be consumed immediately.
You might also find interesting our article about how to start with aquaponics.
Cheese
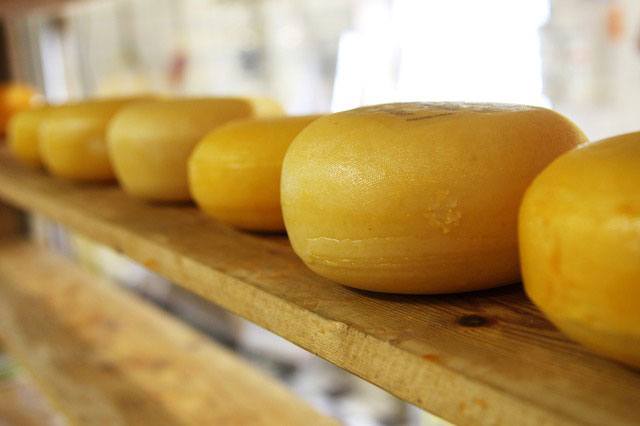
There is no question that making cheese is an art form. Nevertheless, from the simplest to the most complex, cheeses are all made using the same basic process. Essentially, milk (it does not matter which animal it comes from) is warmed up and acidified with vinegar or some other acidic liquid. Next, bacterial cultures or plant-based ingredients (“coagulants”) are used to curdle the milk and turn it into cheese. After the cheese has formed, it is washed and set aside to continue aging. Depending on the cheese type, it can take just a few days, or the cheese may sit for years to allow it to build its finest flavor.
Being able to make cheese is an ideal way to avoid wasting milk. It is also an excellent product that can be used for trade or to make money in a post-crisis world. While it can take some patience and practice to make good quality cheeses, the following sites can help you get started:
- Basic Steps of How to Make Cheese | Instructables
- How to Make Cheese with 4 Ingredients and 15 Minutes | Epicurious
- Cheese Making
Dried Fruits and Vegetables
When it comes to simple, effective ways to preserve foods for weeks or months, drying fruits and vegetables should be at the top of your list. You can dry just about anything from cauliflower to tomatoes and bananas and enjoy nutrition dense, delicious foods that can be transported with ease. Rather than purchase pre-packaged dried food and vegetables, you can make your own for a fraction of the cost.
Wine

Today, many people in the United States think of wine as a purely recreational beverage. Nevertheless, through time it has served as a medicine and also as a form of water purifier. Similar to cheese, wine is also something that you can use to make the most of the food you have, and also use as a trading tool. Here are some sites that can be used to show you how to make basic wines as well as some links on preserving yeast. You may also find the sourdough starter preserving site useful for bread and other foods that require yeast.
- How to Make Homemade Wine | Wikihow
- How to Make Wine at Home | Mother Earth News
- How to Make Wine at Home: 3 Crucial Mistakes and How to Avoid Them | Wine Turtle
We also recommend reading our article about survival foods with long shelf life.
Yeast Bread
When it comes to versatile, easy to cook, nutritious recipes, the following yeast bread recipe is truly something that should be in every prepper’s recipe box. This recipe works well in solar ovens, deep fryers, conventional ovens, and toaster ovens. Over the years, I have used it for pizza, bread, and rolls. As long as you have yeast, and know-how to preserve it from one bread baking to the next, this recipe will serve you well.
Ingredients:
- 6 cups flour
- 2 cups water
- ¼ cup sugar (you can take this up to ½ cup for taste)
- 1 packet of dry yeast or 1 ½ tsp bottled yeast
- 1/3 cup oil
- pinch of salt
Oven temperature: 350 degrees
Preparing the dough:
- start off by dissolving sugar in hot water
- when the water is just warm to the touch, add yeast
- let the yeast, water, and sugar sit until you see the yeast make light cream eruptions to the surface of the water. This process is called proofing the yeast. It is not usually done with modern yeast, however it remains the best away to avoid wasting other ingredients.
- Add one cup of flour. Stir until you get as smooth a mix as possible. Continue adding the flour one cup at a time.
- After you add in the third cup of flour, add in the oil and salt.
- After you have added the fifth cup of flour, add an additional half cup. Depending on the humidity levels, the dough may be ready to knead at this point. If the dough is too wet, go ahead and add the other half cup.
- Knead the dough until it is smooth and silky
- Place the dough back in the bowl and spread a thin layer of oil on the dough.
- Cover the dough with a towel and let rise in a warm location for 1 hour.
- Punch the dough down and place in the pans you will use for baking. If you are going to fry the dough, place small balls on a bed of flour.
- Let rise for an additional hour
- Preheat oven to 350 degrees. Bake for 15 – 45 minutes depending on the thickness of the dough and the oven type. Small balls of dough will fry in about 2 – 3 minutes.
- Putting Your Sourdough Starter on Hold: for Best Long-Term Storage, Dry It | King Arthur Flour
- Yeast Ranching: Advanced Homebrewing | Beer Magazine
- Yeast Storage and Maintenance | White Labs
- Yeast Washing: Reusing your Yeast | Beersmith
Vinegar

If you grew up in a winemaking family like I did, then you may think of vinegar as the ultimate insult to all that hard work. Nevertheless, as a prepper, vinegar can be your best food ally. It can be used for medicine, cleaning, trade, barter, and food preservation. Learning how to make apple cider vinegar, as well as white and wine vinegars, should be part of your prepper cooking plans.
- How to Make Homemade Vinegar | Mother Earth News
- Ask Ted: How to Make Homemade Vinegar | Food Network
- Making Vinegar From Scratch | Off The Grid News
- Making Vinegar | Cultures for Health
Nut and Grain-Based Milk
As a prepper, transporting and storing water is always going to be a critical area of focus. As such, storing away other liquids that may go bad is something that wastes both water resources as well as foods with higher moisture contents. Nut and grain-based milk offer a perfect alternative to trying to store dairy based milk. Even though you cannot usually turn these milk into conventional cheese, they are still nutrient dense foods that taste good. You can use them for cooking, reconstituting other dried foods, and as beverages. Use the following site to learn the basics of processing different nuts and grains to make milk. Since there are many different plants that can be turned into milk, it is best to explore them on your own to see which nuts and plants you want to preserve for this purpose in your survival pantry.
Powdered Soup

Do you have a lot of leftover vegetables in the fridge at the end of the week? Do you find yourself wondering if you will be able to enjoy the taste of eggplant, acorn squash, and other foods that are available now, but can’t be stored away easily? If you answered “yes” to either of these questions, then making your own powdered soup may just be an answer to your problems. Essentially, all you need to do is take vegetables that haven’t been cooked and haven’t rotted yet, dry them out, and grind the remains into a powder. Later on, all you need to do is add this powder to water in order to create soup stock. From there, you can add hardtack, meat, or anything else you happen to have on hand.
There is some controversy over whether or not you can cook all the vegetables together at once, or if they need to be cooked and dried separately. I have used both methods successfully, but prefer powdering single veggies for long-term preservation.
- Homemade Vegetable Stock Powder | As Easy As Apple Pie
- How to Make a Batch of Dehydrated Soup Mix | Mom Prepares
Powdered Eggs
Eggs are a body friendly food that many people use as a main source of nutrition. On the other hand, eggs can be impossible to carry long distances without breaking. To add insult to injury, eggs processed in the United States cannot be left without refrigeration for long periods of time. As a result, they may not be the best prepper food when left in their original form. Fortunately, powdered eggs can be stored away for months on end. The following site offers two ways to dry the eggs out before powdering them. Even though I agree on the taste test, I still cook eggs thoroughly before putting them away. Salmonella aside, there are many other bacterial and fungal agents that can grow in eggs, and I’d prefer to kill off any stray spores before I am in a survival situation where I may not have high enough temperatures to do the job.
Conclusion
As you can see, DIY foods for prepping are not especially difficult to make. Even foods like cheese, wine, and bread are well within your grasp. Take the time now to learn at least one recipe well, and then explore how to use it and cook with it in different situations. I look forward to hearing about the results of your endeavors in the comment box below!



What you are spoken communication is totally true. i do know that everyone should say a similar factor, however I simply assume that you simply place it in an exceedingly method that everybody will perceive. i am positive you may reach such a lot of folks with what you’ve to mention.
In this instruction “Add one cup of flour. Stir until you get as smooth a mix as possible. Continue adding the flour one cup at a time.” Would sifting the flour do the same thing? It may be a bit faster.
Hi Lynne,
Yes, you will get the same results by sifting the flour instead.