Contents
The food crisis during COVID is an ongoing scandal. Farmers are still dumping milk. Prices are going up faster than ever. The derecho in Iowa also caused milk dumping.
If things get worse, milk may be hard to get. At the same time, powdered milk is very expensive. You can make your own milk at home with ease. If you want to learn how to make powdered milk, here are 3 ways to get the job done.
What is Powdered Milk?
Milk goes bad fast, in part, because it has a lot of water in it. As you know, dehydrating most foods make them last longer. It is the same way with milk.
Like other liquids, milk has solids dissolved in it. If you get rid of the water, you are left with the solids. These solids are made of sugar, fat, and protein.
Here are some ways powdered milk differs from liquid milk:
- powdered milk doesn’t need to go in the refrigerator. All you need to do is store it in a cool, dry, place. When stored right, it can last for years.
- Some foods are oil-based. Oil and water don’t always mix when you are cooking. Powdered milk can be used in recipes where you can’t use water. A classic case is chocolate. If you want to make milk chocolate from scratch, you have to use powdered milk.
You might also find interesting our article about how to make a knife lanyard.
Powdered Milk Nutritional Values
Most people say that powdered milk has the same nutritional value as liquid milk. As an add on, some also say that powdered goat milk is better. This is all wrong information. Here’s why:
- many proteins will break apart when they are heated above the boiling point of water. In fact, this is why boiling kills so many germs.
This doesn’t change because the milk came from a goat vs a cow. When it comes to the nutrients in any milk, the proteins are very valuable.
If you expect to get the best nutrients from milk, don’t let it boil for more than 10 -15 minutes.
- A lot of vitamins also break down when exposed to heat. There are quite a few in milk that have this problem.
Other than this, there are some basic differences to start with in cow milk and goat milk. Here is how they compare:
- Goat milk has a little more protein and fat than cow milk.
- The problem is the protein in cow milk is harder to digest than what you get in goat milk. Just because something is in a food, that doesn’t mean your body will be able to use it.
This is why you have to watch your blood tests and do a lot of research on nutrient deficiencies and how they impact your health. A food that works well for one person may not work for another.
- Cow milk has more cholesterol than goat milk.
- Goat milk has more calcium than cow milk.
- Cow milk has more selenium and B12 in it.
4 Reasons Why You Should Learn How to Make Powdered Milk
When you know how to make powdered milk, you have a valuable skill. Here are 4 ways it can help you in a time of need as well as now.
- As I said earlier, some recipes taste good with milk. The problem is the ingredients won’t mix right with milk because it has water in it. If a food seems too watery or doesn’t cook right using liquid milk, try powdered instead.
- You will save a lot of money. When I was growing up, powdered milk was a lot cheaper than liquid milk. Today, it is much more expensive. When you make your own powdered milk, you will cut your cost a good bit.
- No more wasting liquid milk. For some reason, milk also used to stay fresh longer years ago. Now, milk starts to smell bad when the container is open for about 3 days. Instead of throwing the milk out, you can turn it into powder. From there, you can use it as needed.
- Control the ingredients. A lot of people are concerned about pus and hormones in milk. When you buy powdered milk, you don’t know how the cow was raised.
On the other hand, you can still buy liquid milk from a small farmer, or raise your own cow. This way, you always know what is in the powdered milk.
The Cost of Making Your Own Powdered Milk
How much you pay to make powdered milk depends on four things:
- First, you must consider what you pay to get the milk. If you buy milk on sale or wholesale, it will be a lot cheaper.
- The second thing to think about is what you use to make the powdered milk. You can start off with a stovetop or oven. If you are serious about doing this in the long run, you will need a dehydrator. The cost there will depend on the model you choose.
- Next, you need to think about what you will store the powdered milk in. Mylar bags work well. They will still cost money to buy.
- Finally, even in the best setting, it takes a few hours to make milk powder. During that time, you will most likely use gas or electricity.
You can save a lot of money on this step and for equipment if you figure out how to use heat from the sun. It takes a low temperature to make powdered milk. You could even use a car on a hot day as long as you can keep the temperature low enough.
We also recommend reading our article about making aloe vera shampoo.
How Long Does Powdered Milk Last?
As you know, dried foods can last for years. There are a few keys to a long shelf life:
- To start, the powdered milk needs to be prepared right. Make sure everything you use is clean and sterilized. Treat making powdered milk as you would any other food.
- It is very important to make sure the final product is fully dry. It also has to be completely cool before you put it in a storage container.
- Choose airtight and watertight containers. It is up to you to decide on the size and type. Some people use canning jars. Others use mylar bags.
Reconstituting Milk: Powdered Milk to Water Ratio
If you start out with 2 cups of whole milk, you will wind up with about ¼ cup of powdered milk. Reconstituting milk is a little different. A lot depends on what you plan to use the milk for and your taste preferences.
- As a general rule, use 1/4 of powdered milk to 1 cup of water for milk used in baking or for drinking. If you want a stronger milk taste in the recipe, you can increase to 1/3 cup of powdered milk.
- For drinking, cereal, and beverages, 1/3 cup of powdered milk to 1 cup of water works well.
- If you are going to use the milk to make cream or for whipping, then increase to ½ to ¾ cup of powdered milk to water.
- Making ice cream is a bit tricky with powdered milk. If you want a “creamier” texture, then start off with between 1/3 and ½ cup. You can increase to get a heavier texture or lessen to get a lighter, icier one.
Store-Bought Powdered Milk Ingredients
You never know what you will find in powdered milk. Some labels look like they belong in a chemistry lab. Others are simpler. Regardless of the names used, some of these ingredients are dangerous.
The most common things you will find added to powdered milk are fake sugars. As you know, most of these cause cancer, heart disease, and headaches.
You will also find some things that look like they are good when they aren’t. As a case in point, consider Vitamin A Palmitate. Milk already has Vitamin A in it. When the fat is removed from milk, this vitamin goes with it.
Some powdered milk makers put it back in. To make that work, they also have to use palm oil. The latter can be very bad for your health. Some studies link palm oil to heart disease and high bad cholesterol (LDL) levels. Other studies paid for by the palm oil industry say the opposite.
To add insult to injury, many bad additives have been exposed by watch groups. As a result, the names on the label are changed. For example, palm oil may be called vegetable oil. The only way to avoid all these bad ingredients is to make your own powdered milk.
Is Homemade Powdered Milk Safe to Consume?
You will need to cook and store powdered milk right for it to be safe. In one sense, that will make it just as safe as milk that you buy pre-made.
At first, you may think buying from a big company is safer. They can still make mistakes. There are all kinds of scandals about things like melamine. A lot of diseases get into foods as well.
Both kinds of powdered milk still have bad things in them. These things are there because of the process used. Heat does more than break proteins apart.
It also damages cholesterol molecules. This kind of cholesterol is called an oxysterol. Some say oxysterols are more likely to cause cardiovascular disease.
You might want to also learn how to plan a survival garden.
How to Properly Store Powdered Milk
The best way to store powdered milk is in mylar bags. Always try to get mylar bags that are thicker than .5 mil. This will ensure they are thick enough to prevent light from getting in.
I tend to prefer mylar bags that I can seal with a handheld heater. This way, I am sure the bag won’t open up on its own or let air in.
You never know with a zipper bag. Use zipper bags if you are only going to keep a small portion for a small amount of time.
You can also use jars or cans as long as light can’t get through them. As with liquid milk, Vitamin D and A both break down fast when light gets to them. If you plan to depend on powdered milk for good nutrition, then this is vital.
Here are some other things that will make powdered milk last longer:
- Try to keep the temperature somewhere between 40 and 60 degrees. This goes for other foods as well.
Anything over 75 is too much for most foods. Powdered milk won’t last long at temperatures over 70.
- The storage area must be dry. You dry out milk in the first place to make it last longer. The worst thing you can do is put the food in a damp place where it will pick up moisture. Once that happens, microorganisms will thrive and spoil the food.
3 Milk Drying Methods
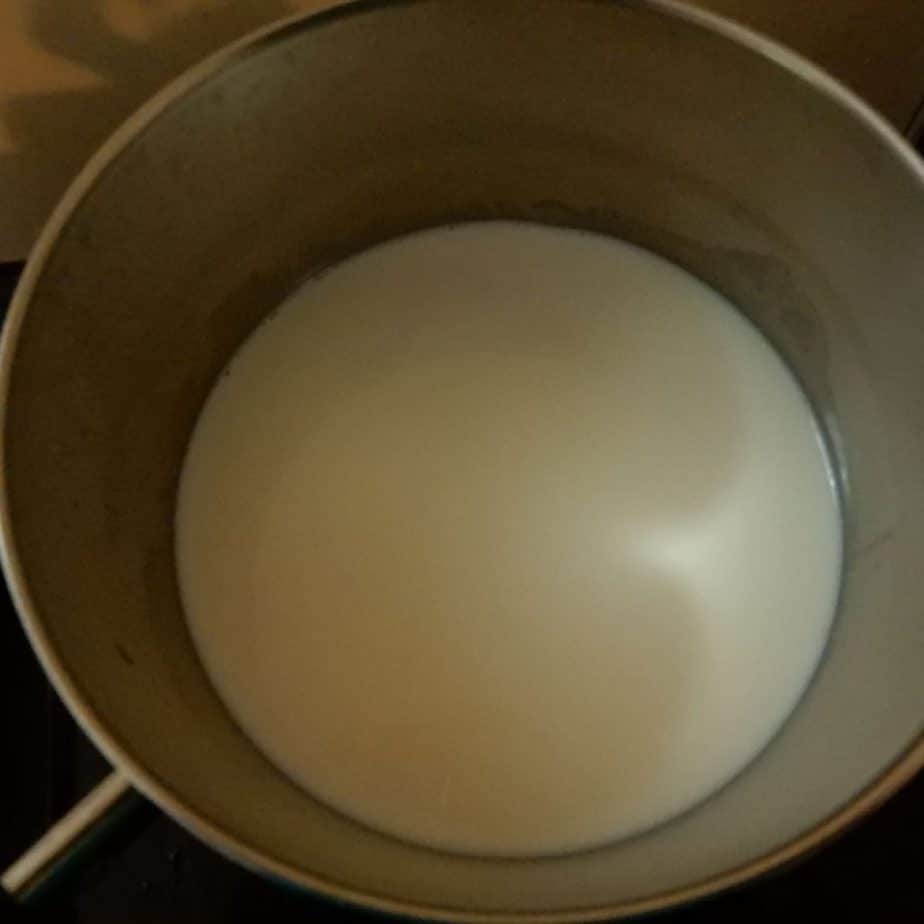
Here are three ways to dry milk at home. Start with one that appeals to you and then try the others.
Spray Drying with a Dehydrator
This is probably the easiest way to make powdered milk at home. Here are the basic steps:
- You will need the fruit roll inserts for your dehydrator. Put one in each drying tray. Make sure there is also maximum room between each tray. Some dehydrators will let you set the trays so there is less space between them.
- Next, pour ½ to 1 cup of milk in each fruit roll insert. If you have a small dehydrator, put less milk in each tray.
- Most people will tell you to set the dehydrator to 130 – 135 degrees F. Then all you have to do is wait about 12 hours for the milk to dry fully. It will dry down to very thin wafers that you can crumble easily in your hands.
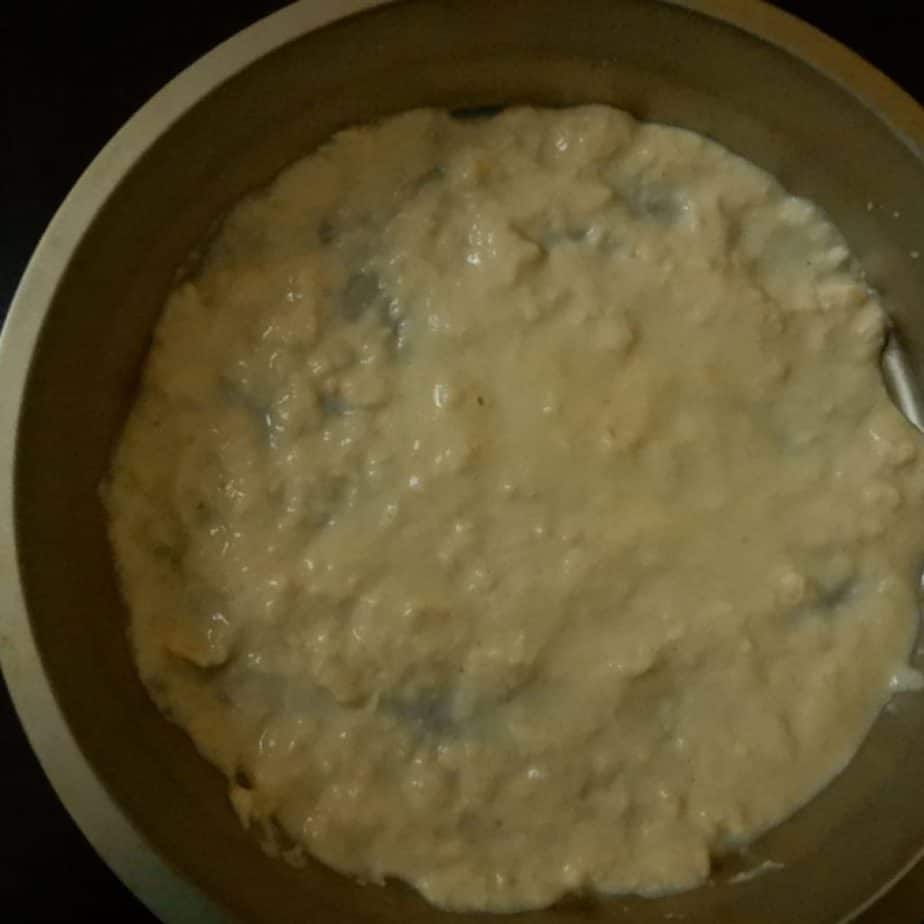
As milk dries it will go through a stage where it gets very thick and gel-like. If the wafers are uneven, you may get some spots that still bend easily. Or, others may still feel like gel.
You will need to put those back in the dehydrator and continue heating until they are as dry as other parts. If possible, break the pieces up so they have a bigger surface area. This will help them dry faster.
- From there, all you have to do is run the wafers through a food processor.
- Store the milk in an airtight container that doesn’t let light in.
- Put the container in a cool, dry place.
When you dry milk in a dehydrator, it will be exposed to heat for a long time. This can cause a loss of nutrients. You would have to stop the dehydrator every 10 – 15 minutes and let the milk cool.
Or you can try setting the dehydrator at under 100 degrees F. This could take much longer to dry. It is hard to say if the milk will remain safe because it is not under refrigeration.
To speed up the process here, you could try using a sprayer to apply milk to the fruit roll-up tray. Very thin layers might dry fast enough to be safe.
Spray Drying with an Oven
At first glance, this method seems like a lot more work. It is my favorite method because it gives you the most control over the temperature. You also don’t need to buy a dehydrator. The basic steps are as follows:
- Start off by pouring milk into a pan. It doesn’t matter how much you start with. As I said earlier, if you don’t want extra milk to go bad, this is a good way to save it.
- Set the milk to simmer. Use a thermometer to make sure the milk stays below boiling.

Remember, as water leaves food, the temperature will go up. In this case, if the milk temperature goes above boiling, it will ruin the proteins and some vitamins.
Check the temperature often.
- The milk will go through several stages as the water leaves. At first, it may form a skin. I always stir that back in.
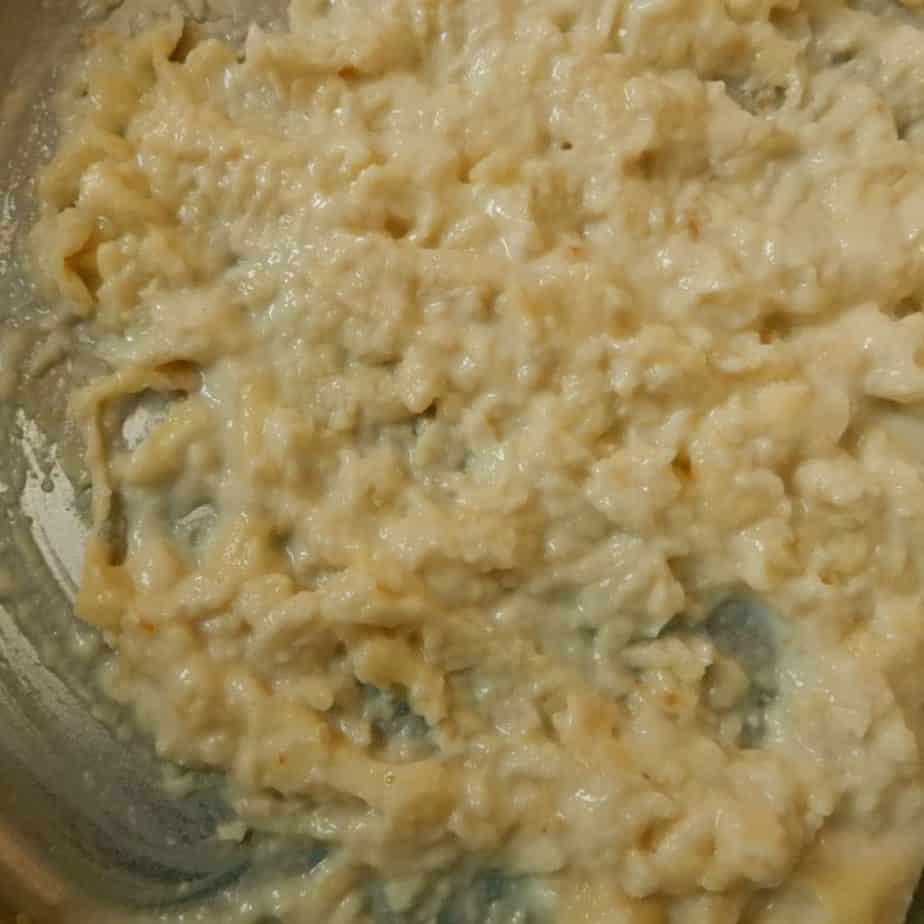
- It will also get thicker and turn yellow. You can keep going until the milk is as dry as you can get it without scorching.
At the end, it will be harder to control the temperature. You may be better off taking the milk off the burner before it is as dry as you can get it. This will help protect the nutrients. I prefer to stop when the milk is like a thick batter.
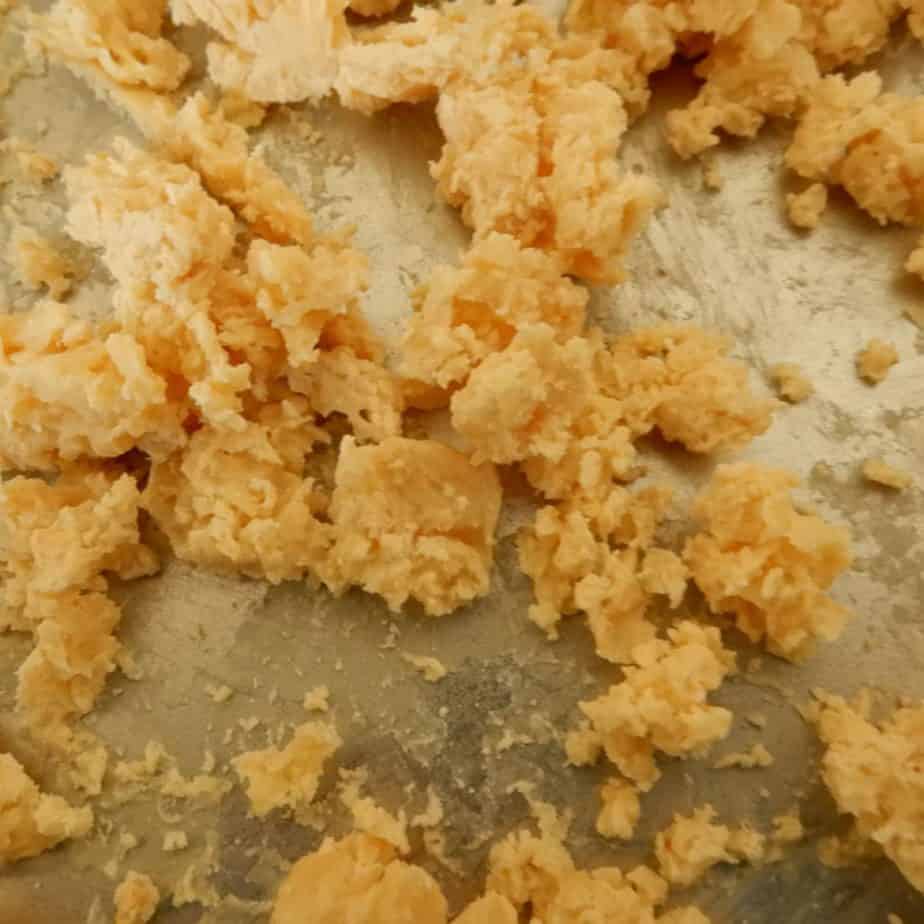
- Next, take the milk gel and put it in an oven-safe pan. You can also use silicone mats. The goal is to have as much surface area as possible.
Set the oven temperature as low as you can get it. If you have a convection setting, use that. The goal is to get as much airflow as possible.
Regardless of the oven type, make sure the door is open just a crack. This will help water escape faster.
I usually find it best to spread the milk out from time to time. I usually do this every 10 minutes and let cool a little before heating up again.
- Keep milk in the oven until it is all dry with no damp or soft spots.
- Finally, store the powdered milk in a dry, non-see-through container. Keep in a cool, dry place.
Boiling Milk with a Pan
This is basically the same process as spray drying with an oven. Here are the steps:
- First, put the milk in a pan. If you have a lot of milk, you can start off with a pot. Both vessels should be non-stick. Cast iron is better because you never have to put sprays in it. Stainless steel is good for pots.
- Simmer the milk. Make sure the temperature never reaches boiling. No matter what method you use, this is the only way to make sure the proteins and vitamins remain intact.
- Keep simmering the milk. You will have to stir it a lot and lower the temperature. At some point in the gel stage, you may need a spoon to spread the gel out.
- Here is where this method differs from using an oven. For the pan method, let the milk cool fully.
- Once it is cool, remove the milk from the pan and break into small bits. Instead of putting them in the oven, let them air dry. This could take a while. Remember to have as much surface area as possible.
- After the milk is dry, you can use a blender to grind it to a powder.
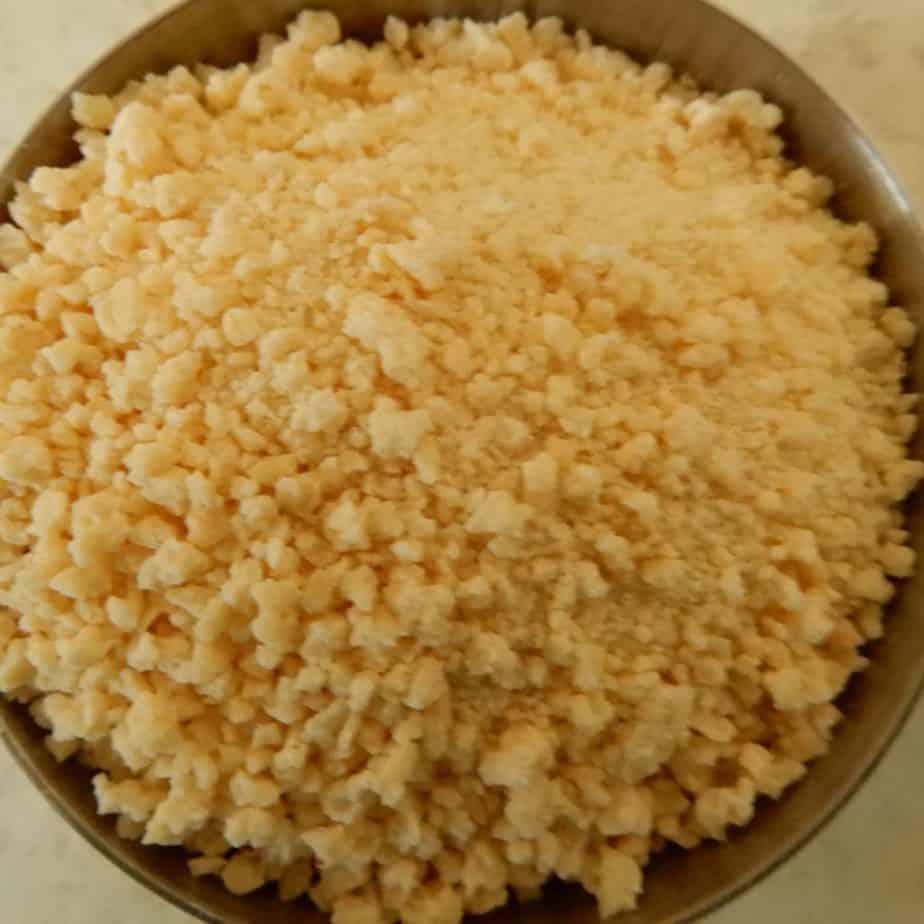
Some people say to add sugar. I don’t recommend this. You would need hot water to dissolve the sugar. It also adds to the calories in the milk. Instead, add sugar as needed when you add water to the milk if you wish.
That said, if you want to use sugar to preserve the powdered milk, it may or may not be possible. I haven’t done this, nor have I seen any research on it. To me, it seems you would need a lot of sugar mixed in the milk powder.
The other way would be to add the sugar while cooking the milk. When you drive water out of sugar, it raises temperatures well above what is safe for the nutrients in milk. This defeats your purpose for making powdered milk.
- Once you are done grinding the milk powder, store it in an opaque container. Keep that in a cool dry place as you would for any other powdered milk.
Powdered Milk Recipes
My favorite thing to make with powdered milk is chocolate. That said, there are a lot of delicious and nutritious things you can make. Here are three sites with recipes to help you get started:
- Preparedness Mama’s Powdered Milk Cooking. Covers the difference between non-fat and regular powdered milk. If you aren’t sure about which one to use, or how to use it, this site will help you along.
As a personal note, I tend to like non-fat milk better. It mixes easier, and thus seems better for drinks and mixing with cereal. That said, there are still some places where regular milk tastes and works better. You just have to be patient with the rehydrating process.
This site also talks about how to use powdered milk to thicken foods and make them taste better. It also has a useful chart for making condensed milk.
- One Good Thing by Jillie’s. 12 Surprising Things You Can Make With Powdered Milk. Covers how to make whipped cream, Greek yogurt, curdled milk, ricotta, cottage cheese, and more. Although not related to food, you can also read about how to make a face mask for skincare. Just follow the links in the article for more details.
- Sunoven’s Powdered Milk Recipes. This site gives you a big mix of simple recipes. They can be used at any meal. Some things you can learn about on this site include pudding, white sauce, macaroni and cheese, peanut butter energy balls, and pancakes. There are also recipes for hot chocolate, yogurt, and other foods.
Conclusion
Making powdered milk is not hard. There are some bad facts out there. You will find this on almost every site. First, try not to let milk reach the boiling point of water. If you can do that, any method you choose will be fine. Once you learn a good method, you will have a valuable skill to use now and in a time of need.

