Contents
It doesn’t matter where you live – knowing how to build a storm shelter is an invaluable skill in today’s rapidly changing world. Building a storm shelter is the best way to protect you and your family from hurricanes, flash floods, tornadoes, and more. In this article, I’ll walk you through each step of building the perfect storm shelter – so that you can sleep easy knowing you will be protected from anything Mother Nature throws your way.
What is a Storm Shelter?
A storm shelter is any place that can provide refuge during a major disaster, like a hurricane, flood, or tornado. Although many people rely on licensed professionals to build their storm shelters – and it’s a good idea to consult with one before you start building – it is not difficult to build a rudimentary storm shelter at home.
There are many types of storm shelters out there, but the goal is to give you enough space and security to hunker down during a major weather event. The ideal storm shelter will not only have enough room for you and your family, but also for all of your provisions (like food, water, and medical supplies).
Consider your Budget
You can’t put a price on your safety – but unfortunately, budget is a major consideration you will need to take into account before you build your storm shelter. Above ground storm shelters tend to be less expensive than their underground counterparts, as constructing an in-ground shelter involves a more expensive and more complicated installation process.

However, for some types of environments and disasters, an above-ground shelter may simply not be practical. Therefore, you need to consider the various costs associated with building your shelter before you begin.
On average, constructing an above-ground shelter will cost between $6,000 and $11,000, while an underground shelter can cost up to $18,000 or more. However, if you already have a basement or a similar structure in place underground, you may be able to build an underground shelter at half the cost of an above-ground alternative.
When you are considering your budget, take the following into account:
● Size of the shelter
● Building materials
● Soil conditions
● Location
● Labor expenses
You might also find interesting our article about how to build a survival shelter.
Consider the Construction Permits
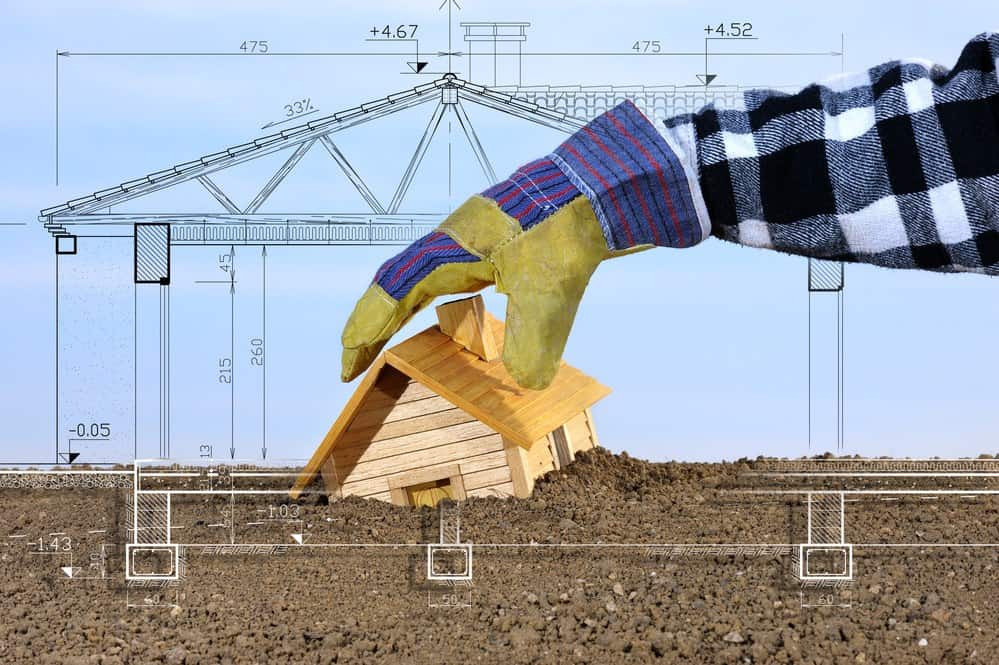
Begin by evaluating the area in which you live. If you are new to the area – or if you aren’t familiar with basic construction processes – you may want to contact a local architect or builder who knows the area well. They’ll not only let you know what kind of shelter and building materials will work best for your climate and your soil, but they’ll also be able to give you some tips regarding permits.
A good rule of thumb is to start by looking at the FEMA P-320 Publication. This document will tell you everything you need to know about how to build a storm shelter. It will include safety regulations along with minimum requirements. You may also need to obtain a construction permit. Make sure you do this before you dig up any soil or pour any concrete. These are usually available from your local town or city hall.
Types of Storm Shelters – Which One is Right for You?
Underground Storm Shelters
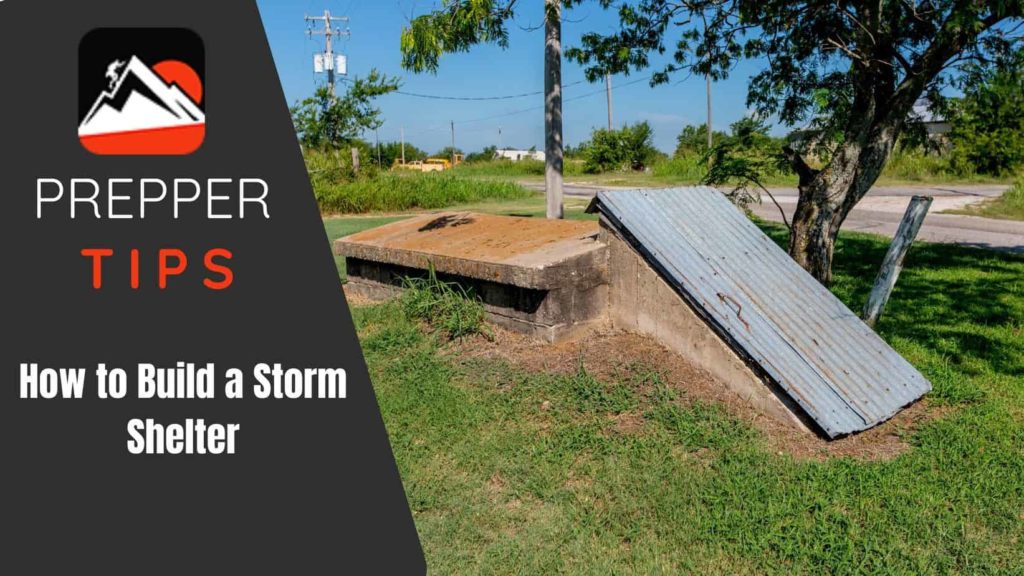
An underground storm shelter is, of course, one that is built below the soil level. It offers the ideal level of protection from major storms like tornadoes as well as manmade disasters. However, it is not ideal if you are seeking protection from floods or other water-related events.
If you live in an area that is low-lying or prone to flooding, ocean tides, or tsunamis in any way, you’ll want to steer clear of an underground storm shelter. In-ground shelters, if they’re practical for you, you can save a lot of square footage, too.
Above Ground Storm Shelters
Many people assume that underground storm shelters are much safer in extreme weather conditions, especially in a disaster like a tornado. However, as long as an above-ground shelter is constructed appropriately, that is not the case.
An above-ground shelter offers several other benefits, too. Not only can it be installed anywhere (including a pantry or a closet, if you’re short on space!) but it will be easier to use if you have somebody in your family who has a physical disability that makes getting underground a challenge.
We also recommend reading our article about planning and building a bunker.
Storm Shelter Sizes: Consider your Family Needs
Small Storm Cellars
A small storm cellar is ideal for a small family, couple, or individual. This will be the best option if you are trying to hunker down to ride out a tornado, but may not be as comfortable or convenient for a long storm, like a hurricane. Not only will you be down there longer, but you’ll need room for all of your gear, too.
A small storm cellar typically measures about 3 feet by 6 feet by 5 feet. A garage storm cellar tends to be smaller than a yard storm shelter but either can generally fit about four to six people.
Regular Storm Shelters
Remember that you will need about ten square feet per person for hurricanes, which are longer-duration storm events, but may be able to get by with less space for short-duration storms like tornadoes. You’ll also need to plan for room for provisions like food, water, first aid kits, and blankets.

Therefore, a “regular” storm shelter will usually be best for both options. They are more common than small storm cellars as they provide enough room for all of your family members along with your provisions. These generally measure about four feet by eight feet by four and a half feet and can accommodate six to eight people (not counting belongings).
Large Storm Shelters
A large storm shelter is, as you might expect, typically reserved for a deluxe outdoor shelter and not one that would be attached to your home (although these can sometimes be constructed or found). These shelters can accommodate up to fourteen people and are best for community set-ups that need to provide a safe haven for a large group.
Typically, these shelters will measure 5 feet by 8 feet by 5 feet, but this can vary slightly.
No matter what size shelter you choose, make sure you plan out a door that’s at ground level so you can approach it and enter it from above. Many people plan for a separate food storage room and connect the storage room to the main shelter area with a ladder. This can cut down on the amount of space needed inside the main shelter area, but you’ll still need to account for the space in your plans.
Best Materials to Build a Storm Shelter
Concrete Storm Shelters
Concrete is one of the most common options for building a storm shelter – which is why our guide below on how to build a storm shelter will mostly reference this building material. It can be used for both above ground and underground storm shelters.
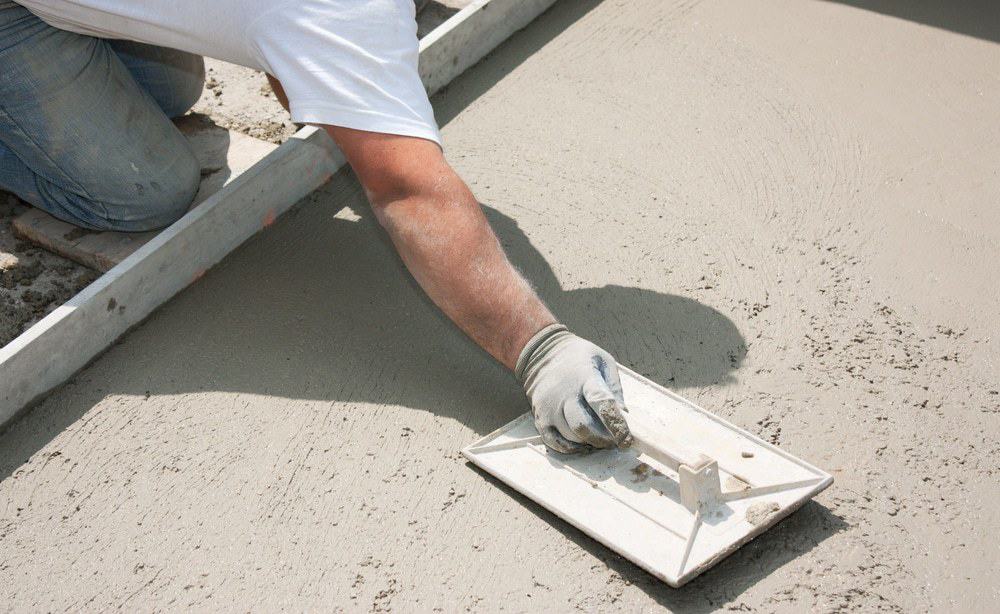
It is often considered the ideal material because it is so heavy and sturdy. It not only protects from the elements but, in the case of a shelter that’s built underground, can withstand the force of the soil pressing into and on top of it, too.
The disadvantage of choosing concrete as your building material of choice is that it is more or less permanent. You aren’t going to have much success trying to move your shelter later on. It is also not the ideal option for people who have small backyards where space is a rarity.
That being said, if you choose to build a concrete storm shelter above ground, you probably aren’t going to need to do much to anchor it. Although it might be more expensive and bulkier initially, you may save costs on anchoring materials later on.
Steel Storm Shelters
Steel is typically used as a building material for above ground storm shelters. These are often built piece by piece, so it can be more challenging for you to build this kind of shelter on your own. Often, the store-bought storm shelter kits that you can purchase utilize steel as a primary building material.
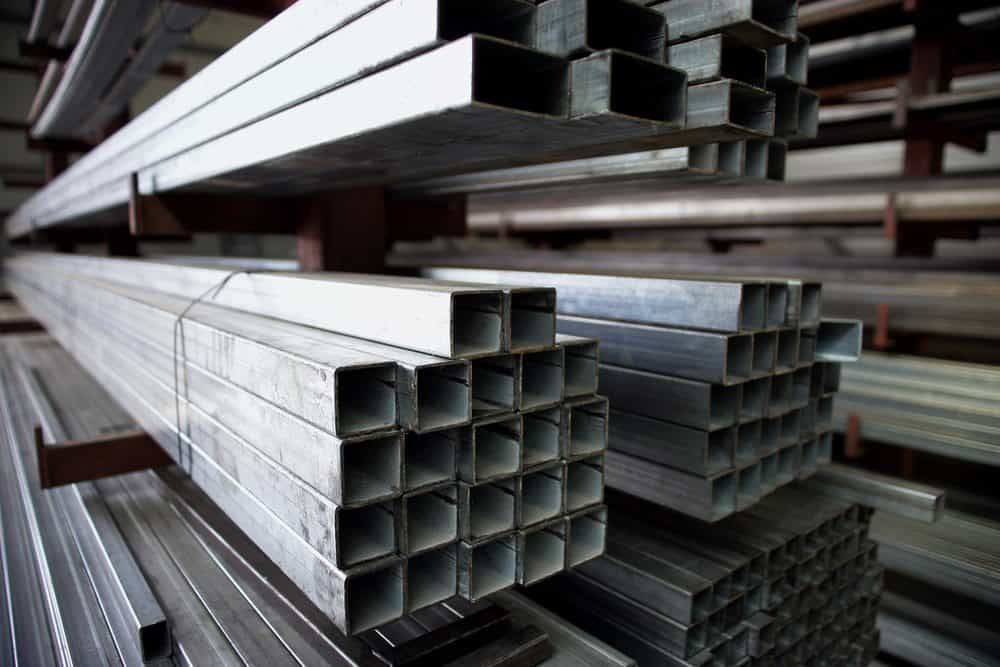
These shelters generally are painted or powder-coated so you don’t have to worry about rusting. They are a great alternative to concrete for people who are pressed for space and want a shelter in their backyards. They are more accessible for people with disabilities and can also be taken apart and reassembled if and when you ever move. They can be just as strong as concrete shelters, in most cases, too.
Fiberglass Storm Shelters
Fiberglass isn’t the most common material used to build a storm shelter, but it still makes the list as a smart building material. If you’re buying a prefabricated storm shelter unit, fiberglass is usually second only to steal in popularity.
Fiberglass storm shelters generally undergo the same level of rigorous testing as steel shelters, and they’re also constructed from a model that helps them resist leakage and damage. They are typically only used underground, unlike steel shelters, and are very difficult for you to construct on your own.
Polyethylene Storm Shelters
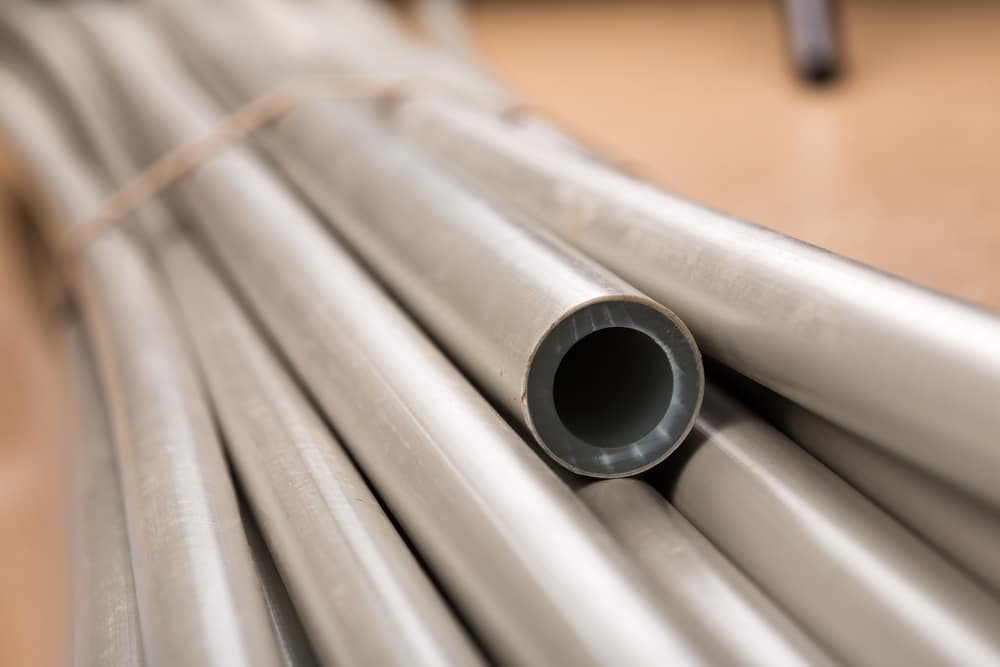
Finally, polyethylene storm shelters are made out of high-density polyethylene. This man-made material is not only rustproof and waterproof, but it’s a polymer that is known for its ability to withstand heavy environmental damage.
One reason why people like to purchase polyethylene storm shelters is that they often are constructed to resist buoyancy and flotation – they will stay where they are. The material is often used for materials like auto parts and underground culverts, so you can rest assured that it’s relatively strong, too.
Steps to Build the Shelter
Consider the Location
There are several factors to consider before you start building, and the most important one is where you are going to build your storm shelter. After all, once the concrete is poured, there’s no turning back!
Your first step will be to determine the location of your wind zone. Figure out which way the wind is likely to blow in the event of a storm. You should be able to find this on the FEMA website as well as various wind zone maps, which can be found online.

Next, decide whether your shelter will be constructed below ground or above ground. We will include steps for both in this article, but you must make this determination long before you start drawing up plans.
If you don’t already have a basement that you can build in or around, keep in mind you’ll need to dig an entirely new area underground. Not only will this entail building all walls, ground floors, and other structures, but you’ll need to make sure they are strong enough to withstand the intense pressure of these soil. You may end up needing to change the structure or foundation of your entire house!
That being said, if you already have a basement under your home, it will be much easier to begin building an underground shelter. You can use the basement as a foundation for your new building.
There is a third option if you’re stuck between an above ground and an underground shelter – and that’s what’s known as a berm shelter. These have doors on the ground level and are partially submerged underground. The entire shelter is covered with soil and grass so it offers the best of both worlds.
How to Build an Underground Storm Shelter
1. Draw Up Plans and Tidy Up
Start by drawing up some plans. You’ll need a good idea of how large the shelter will be, both in terms of width and height.
If you’re building in a brand-new location, you may need to do some clearing of land or debris to get started with the construction process. If you’re building in your own home, you might need to remove any carpeting, tiling, or other floorings so you can get to the foundation.
Make sure the location you selected has a clear path so it’s easy to access in an emergency. You will want to make sure there are no boxes or other debris in the way at any time.
2. Dig Your Hole
The hole for your shelter will need to be slightly larger than the planned size of the shelter. Why? You need some room to maneuver while you are building the shelter. A good rule of thumb is to plan for three times space you need according to your plans.
3. Pour Concrete for the Floor
Level the floor and pour concrete. It should be at least five inches thick. Allow the concrete to dry completely before you proceed.
4. Build Your Frame
Next, you will need to measure out your walls. To figure out the proper measurements of your walls, you have to find the area of the room. To do this, multiply the length of one side by the width of one side. You can then find the lengths of the walls based on the square footage. Use a tape measure to get a measurement of the lengths on the ground.
Some people choose to create a shelter that is not shaped like a square. This is not recommended. Not only will an oddly- or irregularly-shaped room be more difficult to measure and plan out, but it also won’t provide as much protection against a storm.
Dig holes that will allow you to place your frames. Depending on where you live and what kind of soil you have, you can use wooden boards, steel bars, or even fiberglass for your frame. If you use wood, you will likely use 2×6 boards that are cut according to the measurements you already took for your wall. You can also purchase pre-cut boards from the hardware store if you don’t want to cut them yourself.
To attach the boards to the wall, you will need to start at the floor and drill holes into the concrete floor with a hammer drill. Attach the bottom boards using anchor bolts, then anchor the boards to the slab. Tighten them as much as you can.
You can then attach your frame, or your studs, from the floor frame to the ceiling with concrete nails. Secure these to the ceiling with hurricane ties, which will provide maximum protection.
5. Pour Concrete
Once you place your frames, pour concrete to the height of the walls and let it dry. After it has dried, you will attach a waterproof membrane that covers the entire exterior wall of the shelter before placing wire mesh on both the exterior and interior of the halter – this will reinforce the walls. When you set your roof, you will also use an additional metal mesh layer. It will give it strength to resist strong winds and heavy debris.
6. Set the Roof
Build the frame for your roof using plywood and 2x4s (you can also use metal and wood if you want an even stronger shelter – note that if you are building your shelter in a basement or preexisting structure, you will only be reinforcing the existing roof and not building a new one).
Nail each wooden board atop the plywood and then pour concrete that’s twice as thick as the floor – so ten inches or so. Allow it to dry.
7. Attach the Door
Now you’re ready to install the door. The door should have a concrete and steel frame with three deadbolts. It has to open to the outside so your hinges need to be installed outside.
[embedyt] https://www.youtube.com/watch?v=tYKgtxB9ZmM[/embedyt]
How to Build an Above Ground Storm Shelter
1. Draw Up Plans
Choose whether you are going to build a half-berm (partially below ground) or full-berm (totally below ground) shelter.
An above-ground shelter will usually not be as large as an underground one since it might not be as stable. However, it can still house one family just fine. Mark the area that you are going to build by drawing out a square.
2. Do Your Dirt Work
Next, you will need to excavate the square. Do this to a depth of about three inches. Set out 1x4s (usually ten feet long but this can vary depending on the size of your structure) along the side of each square. Pound wooden stakes outside the square to keep the boards vertical and use a level to make sure everything is level and steady. Nail your 1x4s to the wooden stakes.
You will then need to lay out pieces of ½ inch rebar (about nine feet long) along the edges of the framed pad. They should be parallel to each other. You will use these to provide structure as you pour concrete.
3. Build Your Floor
Pour your concrete floor. Using your rebar rods to guide you, pour the concrete, allowing it to cure completely before you continue. Lift the rods slightly to let the concrete flow beneath the rebar, which will add stability to your structure.
Some people pour one layer of concrete then use a hammer drill to make holes in it for metal frame anchors. Then you can put down glue over the entire surface and apply another layer of concrete. This will prevent the concrete from potential damage but is an optional step. After your concrete is poured, you will want to make sure it is level and then let it set.
4. Layer Your Bricks and Build the Walls
Drill holes through the bricks and run the metal frame through the holes. After finishing one bricklayer, pour concrete into the cell area of the bricks. This will help provide additional strength.
If your means allow, you can build the entire storm shelter around a precast building. This can be cost-prohibitive, however, as it will require you to rent a boom truck and purchase the precast building. That’s why most people tend to use bricks instead. They provide almost as much stability and the shelter will be much less expensive to put together on site.
5. Set the Roof
The roof will be built by bending metal frames so that they are horizontal. As you bend these, add more metal frames and attach them to create a metal mesh. Use a wooden frame to finish the process, then pour concrete on the roof.
The wooden frame below the roof will allow the concrete to dry in the shape of the roof. Drill holes through this wooden frame for some ventilation so you don’t suffocate.
6. Attach Your Door
Use a door that is certified by FEMA as being storm and tornado proof. It needs to be able to withstand winds of 200 miles per hour or more.
[embedyt] https://www.youtube.com/watch?v=pwzUZhoOGes[/embedyt]
Improve Your Shelter – and Be Prepared to Use It
Of course, you can also improve your shelter by adding things like electricity, air conditioning, or even carpeting. Some people even furnish their storm shelters with benches, couches, or beds!
That is a decision that we will leave up to you. However, what’s important is that you keep plenty of water and food – at least a two weeks’ supply – in the shelter. Once you have a fully stocked and highly functional storm shelter, you’ll be ready to weather anything Mother Nature throws your way!

